 How-to
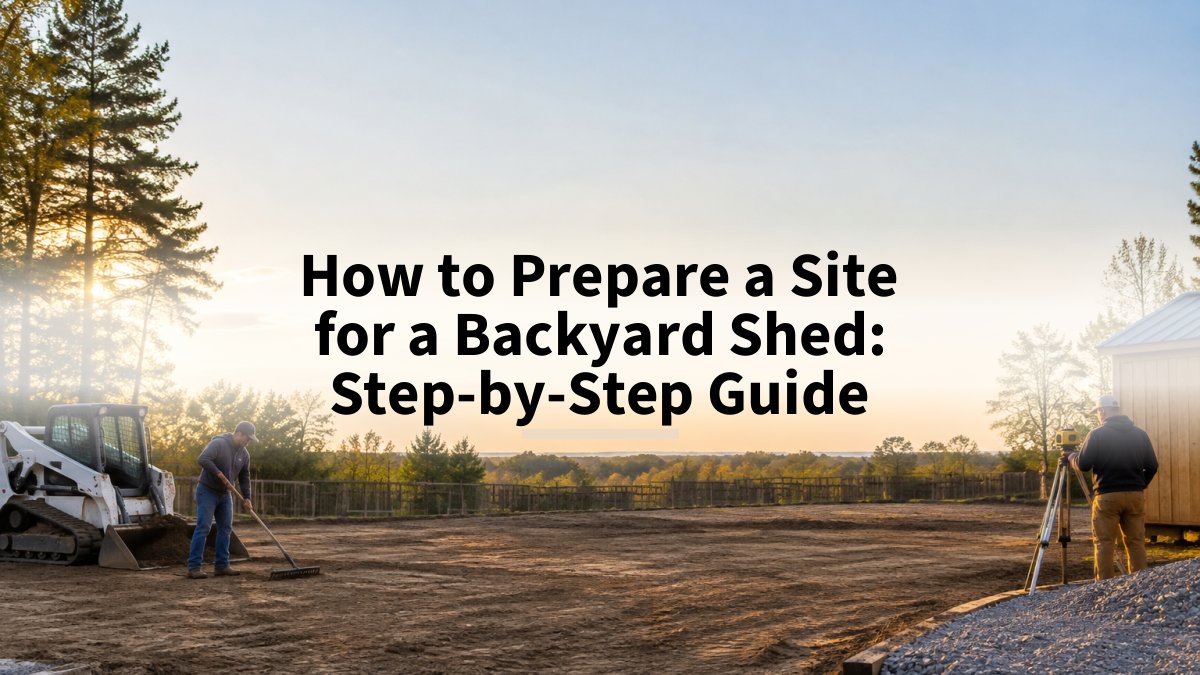
How to Prepare a Site for a Backyard Shed: Step-by-Step Guide
Last Updated: November 11, 2026
Quick Summary
To prepare a site for a backyard shed, first pick a spot with good access, drainage and clear setbacks, then remove sod and debris and level the ground. Next, build a compacted gravel base that extends past the shed edges, and grade the soil so water drains away from all four walls.
- Check access for delivery, equipment and drainage before choosing the footprint location.
- Call 811 a few business days before digging to mark public utility lines for free.
- Remove sod and roots across the footprint plus one foot on each side.
- Build a gravel base in compacted layers of about 2 to 3 inches.
- Grade soil about 6 inches over the first 10 feet so water drains away from the walls.
Table of Contents
- What Site Preparation Involves and Why It Matters
- Choosing the Right Location and Checking Setbacks
- How to Level Ground for a Shed
- Shed Foundation Options and Building a Gravel Shed Base
- How to Keep Water From Pooling Around a Shed
- Scheduling Your Site Prep Work With Busy Man Contracting LLC
- Frequently Asked Questions
Careful preparation of the ground is what decides whether a backyard shed stays level, dry and standing for decades, so proper prepare a site work matters from the start. The steps below follow the order a professional crew would use.
Good site prep covers four jobs: picking a spot, leveling the ground, building a base, and directing water away. Each affects the next, a shed on uneven soil racks and pulls doors out of square, and a base that holds water rots the bottom plates.
What Site Preparation Involves and Why It Matters
Site preparation means clearing, leveling and stabilizing the ground before building. For a backyard shed, that means removing sod and debris, checking slope, and laying a compacted base for a firm, level, well-draining surface.
Skipping this step is a common homeowner mistake, and it is among the first things a contractor checks when preparing a site for any build.
- Clear the footprint of sod, roots and debris
- Confirm the ground is level within a small tolerance
- Build a firm base that stays stable in wet weather
Choosing the Right Location and Checking Setbacks
Location is the one decision you cannot undo cheaply. Before staking a footprint, run a pre-dig checklist covering access, drainage, boundaries, utilities, permits and separation distances.
The Pre-Dig Checklist
Work through these in order, each can eliminate a candidate spot before you spend a dollar on gravel.
- Access for delivery and equipment. A shed kit, pallet of stone or Bobcat needs a path. Measure gate widths, fence openings and overhead branches; carrying materials 100 feet by hand changes the labor and cost.
- Surface drainage. Walk the yard after heavy rain. Low corners, soggy patches and erosion channels show where water goes, avoid them unless you regrade or add drainage.
- Property boundaries. Pull your plat or survey from the county recorder, or hire a licensed surveyor if unclear. Building over a boundary is a title and permitting problem, not just a neighbor dispute.
Setbacks and Separation Distances
Setbacks set minimum distances from property lines, easements and sometimes other structures. They vary widely, so treat online numbers as a starting point and confirm locally.
Separation from other features matters just as much:
- Foundations. Keep the shed far enough from the house that roof runoff and excavation do not undermine either. Direct water from the shed away from the house, not toward it.
- Septic systems and drain fields. Never park a shed, drive equipment over, or store heavy materials on a drain field. Keep the structure and compaction well outside the designated area, and confirm distance with your local health department.
- Drinking-water wells. State and local wellhead protection rules often set minimum separations between wells and structures, animals or chemical storage. Confirm with your state environmental or health agency before siting.
Watch out: a verbal "you're probably fine" from a clerk is not a permit. Get the requirement in writing or pull the permit, because an unpermitted shed can be ordered removed or block a future property sale.
Utility Locating in Practice
811 is a notification service, not an inspection (811 Before You Dig). You or your contractor must still respect the marks and the tolerance zone around them, typically a set distance on either side of the line. Photograph the marks, keep the ticket number, and re-call if marks fade or the dig is delayed. If a private line is suspected, a private locator can trace it before the machine arrives.
How to Level Ground for a Shed
Leveling is where most of the hard work happens. Even a small slope across a shed floor stresses walls and doors over time.
Checking Slope and Marking the Footprint
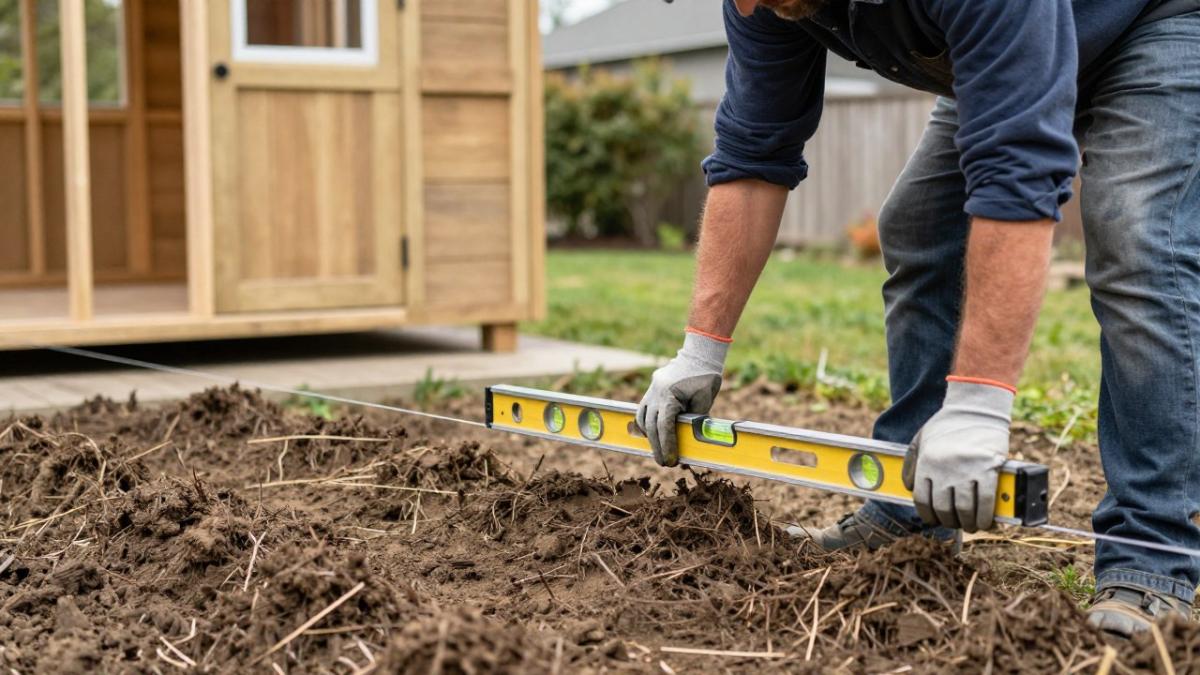
Mark the footprint with stakes and string, run a long level across the string lines to find high and low points, and measure the difference at each corner.
- Mark all four corners with stakes and string
- Check the diagonals to make sure the frame is square
- Note the height difference between the highest and lowest corner
Removing Sod, Roots and Debris
Remove sod across the full footprint plus a foot on each side. Dig out roots, rocks and old boards, leftover organic material breaks down and causes the ground to sink.
Cut high spots down and fill low spots with compacted material, working in layers of no more than a few inches and tamping each firmly before adding the next.
Shed Foundation Options and Building a Gravel Shed Base
Several foundation types work for backyard sheds. A gravel base is popular because it drains well and costs less than concrete. Concrete pads are the most permanent but need more time and labor.
Pick the option that fits your soil, budget and the shed's weight. Material pricing varies by region and order size, so ask your supplier for current quotes.
Building a Compacted Gravel Shed Base
A typical gravel base uses crushed stone laid in layers over the leveled area, extended a few inches beyond the shed edges so water sheds away from the walls.
- Lay landscape fabric over the soil to block weeds and mixing
- Spread crushed stone in layers of about 2 to 3 inches
- Compact each layer with a plate compactor or hand tamper
A well-built gravel base feels firm underfoot with no soft spots. Walk the surface and recheck the level before setting the shed.
Several foundation types work for backyard sheds, and each suits different soil, budgets and shed weights.
| Foundation | Best for | Key difference |
|---|---|---|
| Gravel base | Good drainage at lower cost | Drains well, cheaper than concrete |
| Concrete pad | Most permanent installation | Needs more time and labor |
| Pressure-treated skids | Lighter sheds on uneven ground | Works where ground is uneven |
| Pier system | Lighter sheds on uneven ground | Works with pressure-treated skids |
How to Keep Water From Pooling Around a Shed
Water is the biggest long-term threat to a shed, and grading alone does not always solve it. The goal is to move roof and surface water away faster than the soil can accept it, then plan for what still arrives.
Start With Grading and Roof Water
Grade the soil so it drops away from all four walls, about 6 inches over the first 10 feet is steep enough to shed water without eroding a bare slope. Seed or mulch once shaped.
Handle roof water deliberately:
- Extend downspouts so they discharge well away from the base, not at the corner of the pad.
- Use splash blocks or a flexible extension where the grade is flat.
- Keep gutters clean so water does not overflow at the fascia and run down the wall.
Sizing a Drainage Fix
If water still pools, size the fix instead of guessing. The inputs are roof area, local rainfall intensity and how fast the soil accepts water.
- Roof area. Measure the footprint plus overhangs. A 12-foot by 16-foot shed with 1-foot overhangs drains roughly 14 by 18 feet, or about 252 square feet.
- Rainfall. Use your local design storm from published data or the building department. A 1-inch rain on 252 square feet is about 157 gallons.
- Soil intake. A percolation test shows how fast the ground accepts water: dig a hole, fill it, and time the drop. Slow clay needs a larger or different solution than sandy loam.
A worked example: if a 1-inch storm delivers about 157 gallons and the soil accepts water slowly, a small dry well or gravel-filled trench may not keep up. Route the water to a daylight outlet downslope, a swale, or a rain garden sized for the volume.
Drainage Options and When to Use Them
- Gravel trench or French drain. Good for intercepting sheet flow and carrying it along a slope to a daylight outlet. Needs a fall and a place for the water to go.
- Dry well. A gravel- or crate-filled pit that stores water until the soil absorbs it. Works in permeable soil with a low water table; fails in clay or where groundwater is high.
- Swale. A shallow graded channel that moves surface water. Cheap and effective on sloping lots, but it needs an outlet and regular maintenance.
Troubleshooting a Slow-Draining Site
Watch out: a dry well that fills and stays full after a storm is not working. Common causes are a clogged inlet, silted gravel bed, high water table, or soil that never drained well.
Before any of this, confirm local stormwater rules. Some jurisdictions restrict where runoff can be discharged, require erosion control during work, or count new impervious surface toward a coverage limit.
Scheduling Your Site Prep Work With Busy Man Contracting LLC
Site prep goes faster and cleaner with the right equipment. Busy Man Contracting LLC provides Bobcat services for residential and commercial properties, including grading, trenching and gravel driveway repair, and focuses on leaving the ground better than it was found.
If you want professional help with grading, contact Busy Man Contracting LLC to review your site and plan the work.
Ready to start your shed project on solid ground? Request a quote from Busy Man Contracting LLC for a clear plan on leveling and grading.
Frequently Asked Questions
How do you prepare the ground for a backyard shed?
Start by clearing grass, roots and debris from the footprint, then mark the shed area and check the slope with a long level and string line. Remove high spots, fill low spots with compacted gravel or soil, and grade the surface so it drops slightly away from the building. Once the ground is level and compacted, you can install your chosen foundation. Confirm local permit and setback requirements before you dig, and call 811 to have underground utilities marked at least a few business days ahead.
Does the ground need to be level before installing a shed?
Yes, the ground should be level or very close to it, because an uneven base can rack the shed walls, bind doors and cause the floor to sag over time. Small differences can be corrected with gravel or compacted fill, but large slopes usually call for grading first. A quick check with a level on a straight board across the footprint in both directions will show you where adjustments are needed before the foundation goes in.
How deep should a gravel base be for a shed?
A gravel base for a typical backyard shed is often 4 to 6 inches deep after compaction, though the right depth depends on soil type, shed size and local frost conditions. Use crushed stone rather than pea gravel because it locks together when tamped. Spread the material in lifts of about 2 inches and compact each layer before adding the next. Extend the base a foot or so beyond the shed perimeter to help water drain away from the walls.
How do you keep water from pooling around a shed?
Water pooling around a shed usually comes from poor grading, clogged gutters or a footprint that sits lower than the surrounding yard. Grade the soil so it slopes at least a few inches over 10 feet away from the building, extend downspouts well past the foundation, and make sure the gravel base drains rather than holds water. A shallow swale or a drain line can redirect runoff if the lot naturally collects water. Check the area after heavy rain and correct low spots as soon as you see them.